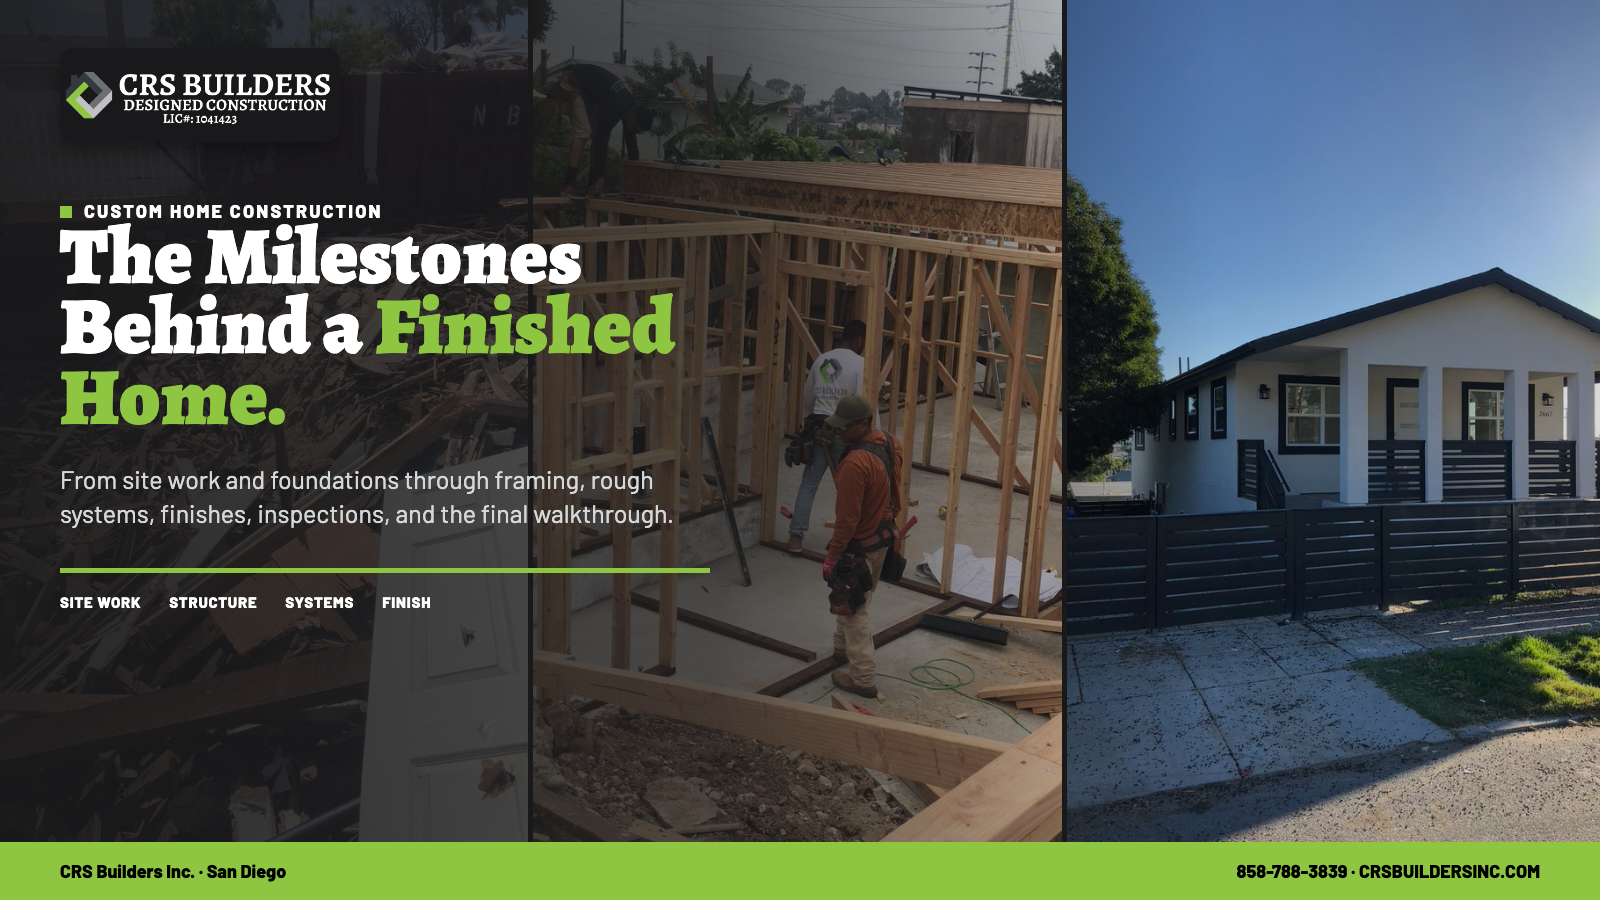
Custom-home construction can feel abstract while the work exists only in drawings and selections. Once construction starts, the project becomes visible—but progress does not always look the way homeowners expect.
Some weeks produce dramatic changes, such as framing an entire level. Other periods involve essential work inside walls, under slabs, or behind finished surfaces. Understanding the major custom home construction milestones in San Diego helps homeowners follow the project without judging progress only by what is visible from the street.
The sequence below is a homeowner-oriented overview. Actual ordering varies with the design, permit conditions, site, inspections, construction methods, procurement, and weather.
Before Construction: Plans, Permits, and Mobilization
Construction should begin from coordinated, approved documents—not from a loose collection of ideas.
Before mobilization, the project team typically works through:
- Architectural and engineering plans
- Site, zoning, and overlay review
- Energy documentation
- Civil, grading, or drainage coordination when required
- Geotechnical information when required
- Permit issuance
- Major selections and procurement planning
- Contractor and subcontractor coordination
- Site-access and protection planning
The City of San Diego requires building construction plans and applicable supporting documents to be reviewed for new structures. Depending on the project, those documents can include calculations, energy forms, stormwater information, and geotechnical material.
Once the permit is issued and the team is ready, mobilization may include temporary facilities, protection, fencing, utility coordination, layout controls, and an initial site meeting.
For a closer look at the work that happens before this point, read What Happens Before Construction Starts in San Diego.
Milestone 1: Site Preparation and Layout
The first visible work prepares the property for construction.
Depending on the site and scope, this phase may include:
- Clearing approved areas
- Protecting trees or structures that will remain
- Installing erosion and sediment controls
- Establishing access for workers and equipment
- Demolition or removal work
- Surveying and staking the building location
- Rough grading
- Temporary utility work
Accurate layout is critical. Property lines, setbacks, finished-floor elevations, drainage, and the relationship to existing improvements must align with the approved plans.
On tight San Diego lots, construction logistics deserve as much attention as the building footprint. Deliveries, excavation, material storage, neighboring properties, and safe access all affect how the work proceeds.
Milestone 2: Excavation, Underground Work, and Foundations
Foundation work creates the physical base of the home, but much of the important work disappears once concrete is placed.
This phase can involve:
- Excavation
- Footing and foundation preparation
- Reinforcing steel
- Forms
- Under-slab plumbing or utilities
- Grounding and other embedded items
- Moisture or vapor-control components
- Concrete placement
- Foundation walls, stem walls, slabs, or raised-floor supports
The exact system depends on the engineering, soils, site, and architecture.
Before work is covered, required inspections verify applicable portions of the permitted construction. The City states that permitted work must be inspected before it is covered or concealed. That makes coordination especially important during foundation and underground work: a missed item becomes much harder to correct after concrete placement.
For homeowners, a useful milestone is not simply “the concrete is done.” It is that the underground and foundation work has been coordinated, inspected as required, placed, and prepared for the next structural phase.
Milestone 3: Framing and Structural Form
Framing is often the most dramatic stage because the home’s scale and room relationships become visible quickly.
Work may include:
- Floor systems
- Exterior and interior walls
- Beams and structural posts
- Roof framing
- Shear walls and structural panels
- Stairs
- Window and door openings
- Hardware and connections
This is when homeowners can physically experience the plan. Hallway lengths, ceiling heights, window positions, and views become easier to understand.
It is also a critical coordination period. Structural openings must align with architectural plans, and framing must leave appropriate routes and spaces for mechanical, electrical, plumbing, and fire-protection systems where applicable.
A framed home is not ready for finish work. The structure, connections, and required inspections must progress before walls are closed.
Milestone 4: Dry-In and Exterior Weather Protection
“Dry-in” generally describes reaching a stage where the building is increasingly protected from weather. The exact definition can vary by contractor and project.
Typical work includes:
- Roof sheathing and roofing underlayment
- Exterior sheathing
- Flashing
- Weather-resistive barriers
- Windows and exterior doors
- Roof covering progression
- Waterproofing at critical transitions
This milestone matters because water management is a complete system. Roofing, wall layers, windows, doors, decks, penetrations, and drainage details need to direct water away from vulnerable assemblies.
Homeowners may see installed windows and assume the exterior is finished. In reality, the surrounding flashing and integration with the wall system are just as important as the visible product.
Milestone 5: Rough Mechanical, Electrical, and Plumbing
Rough MEP work places the systems that will support the finished home.
This phase may include:
- Water, waste, and vent piping
- Electrical wiring, boxes, and panels
- Heating and cooling equipment, ductwork, or refrigerant lines
- Gas piping when included
- Low-voltage wiring
- Ventilation
- Fire sprinklers when required
- Equipment and service coordination
The plans should work together in the field. A structural beam, recessed light, duct, plumbing line, and cabinet cannot all occupy the same space.
Good coordination includes reviewing fixture locations, equipment access, ceiling conditions, exterior penetrations, and future maintenance. Small decisions made during rough work can affect the appearance and usability of finished rooms.
Required rough inspections generally occur before insulation and drywall conceal the work. Homeowners should expect progress at this stage to be methodical rather than visually dramatic.
Milestone 6: Insulation, Air Sealing, and Wall Closure
Once required rough work and inspections have progressed, the project moves toward closing walls and ceilings.
Work may include:
- Insulation
- Air-sealing measures
- Fire-blocking and draft-stopping components
- Sound-control assemblies where designed
- Drywall installation
- Drywall finishing
- Interior substrate preparation
This milestone changes the feeling of the home. Framed spaces begin to read as rooms, and sound and light behave differently.
Before wall closure, the team should confirm that in-wall backing, niches, recessed accessories, specialty wiring, and other planned components are in place. A short coordination review before drywall can prevent avoidable cutting and patching later.
Milestone 7: Exterior Finishes and Site Development
Exterior work may overlap several interior phases.
Depending on the design, it can include:
- Stucco, siding, masonry, or other cladding
- Exterior trim and paint
- Roofing completion
- Decks, balconies, porches, or railings
- Driveways and walkways
- Site walls and fencing
- Drainage improvements
- Landscape and irrigation
- Exterior lighting
The order depends on access, weather, material requirements, and the need to protect finished work.
Exterior completion is not only about appearance. Transitions around windows, doors, roofs, decks, utilities, and grade must work together. Site drainage and finished grading also need to direct water appropriately.
Milestone 8: Interior Finishes and Equipment
Interior finishes make the design recognizable, but they rely on everything completed before them.
The work can include:
- Interior doors and trim
- Cabinets and built-ins
- Tile and other finish surfaces
- Flooring
- Painting
- Plumbing fixtures
- Electrical devices and lighting fixtures
- Appliances
- Glass, mirrors, and hardware
- Heating and cooling finish components
Sequencing and protection are important. Installing a finish too early can expose it to damage from later trades. Delaying a required selection can also affect adjacent work.
Homeowners can help by making decisions through an organized selection schedule rather than treating every finish as an isolated choice. Dimensions, lead times, installation requirements, and compatibility should be confirmed before products arrive.
Milestone 9: Testing, Corrections, and Final Inspections
Near completion, the project shifts from installing major components to verifying operation, completing corrections, and preparing for required approvals.
Activities can include:
- Testing fixtures, equipment, controls, and systems
- Completing trim and touch-up work
- Addressing inspection corrections
- Finalizing exterior and site items
- Cleaning
- Confirming required documents and manuals
- Completing final inspections
The City of San Diego explains that construction is not approved until it has been inspected and accepted by inspection staff. Inspection requirements vary by project, and final approval should never be assumed merely because the home looks finished.
The contractor coordinates the required inspections and addresses applicable corrections before the permit is finalized.
Milestone 10: Homeowner Walkthrough and Closeout
The homeowner walkthrough is an opportunity to learn the home and document remaining completion items.
A useful walkthrough can cover:
- Operation of doors, windows, fixtures, and controls
- Heating, cooling, water-heating, and ventilation equipment
- Electrical panels and shutoffs
- Water and gas shutoffs, when applicable
- Care and maintenance information
- Product manuals and warranties
- Finish observations
- Remaining punch-list items
Closeout is more than handing over keys. Homeowners should know how to operate and maintain the systems and materials in the home.
The project team should also distinguish between a completion item, a warranty issue, and normal material behavior. Clear documentation and communication make that process easier.
What Homeowners Should Review at Each Milestone
Homeowners do not need to manage every trade, but they should understand the decisions appropriate to each phase.
| Milestone | Useful homeowner focus |
|---|---|
| Plans and permits | Goals, layout, major materials, approvals |
| Site and foundation | Building position, elevations, site impacts |
| Framing | Room relationships, openings, ceiling conditions |
| Rough systems | Fixture locations, controls, equipment coordination |
| Wall closure | In-wall details, backing, specialty items |
| Finishes | Approved selections, transitions, protection |
| Final phase | Operation, corrections, documentation, maintenance |
Changes become more disruptive when they are requested after the relevant work is complete. Organized review points help homeowners make decisions while options are still practical.
Frequently Asked Questions
How long does custom home construction take in San Diego?
There is no responsible universal duration for custom home construction in San Diego. Design, permitting, site conditions, complexity, inspections, procurement, weather, and changes all affect the schedule. A project-specific plan is more useful than a generic promise.
What is the most visible custom-home milestone?
Framing is often the most visually dramatic milestone because the home’s rooms, roof, and overall scale appear quickly. Foundation, rough systems, waterproofing, and inspections may be less visible but are equally important.
When can walls be closed?
Walls should be closed only after the applicable rough work is complete and required inspections have been accepted. The City of San Diego requires permitted work to be inspected before it is covered or concealed.
Can homeowners change selections during construction?
Some changes are possible, but timing matters. A late change can affect permits, engineering, procurement, completed work, or several trades. Changes should be documented and reviewed for scope and downstream effects before proceeding.
What happens during a final walkthrough?
A final walkthrough typically reviews operation, visible completion items, controls, shutoffs, manuals, maintenance, and any remaining punch-list work. It should help the homeowner understand the finished house, not simply inspect cosmetic details.
Is the house complete before final inspection?
A house may look nearly complete before all required inspections and corrections are finished. Construction should not be represented as approved until the authority having jurisdiction has inspected and accepted the applicable work.
Follow the Process, Not Just the Photographs
Custom-home progress is a sequence of coordinated decisions, concealed work, inspections, and visible finishes. Understanding the milestones helps homeowners appreciate why some of the most important progress happens before the house looks finished.
CRS Builders Inc. provides custom-home planning and construction services for San Diego homeowners, from early coordination through final completion.